Thinking about listing in McLean and wondering if luxury staging will really pay off? You are not alone. In this market, buyers are busy professionals who shop online first and expect high-end visuals and a polished, move-in-ready feel. In the next few minutes, you will learn what luxury staging includes, how it influences price and days on market, and how to build a practical plan that fits the spring selling window. Let’s dive in.
Why luxury staging matters in McLean
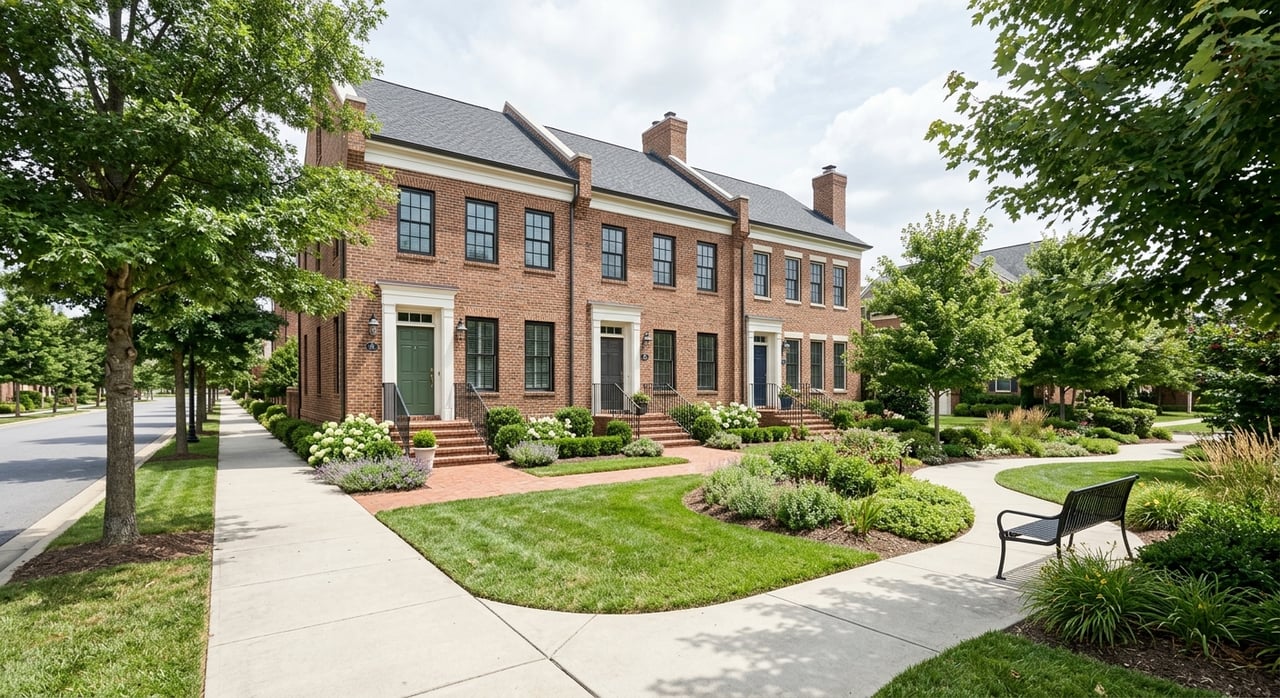
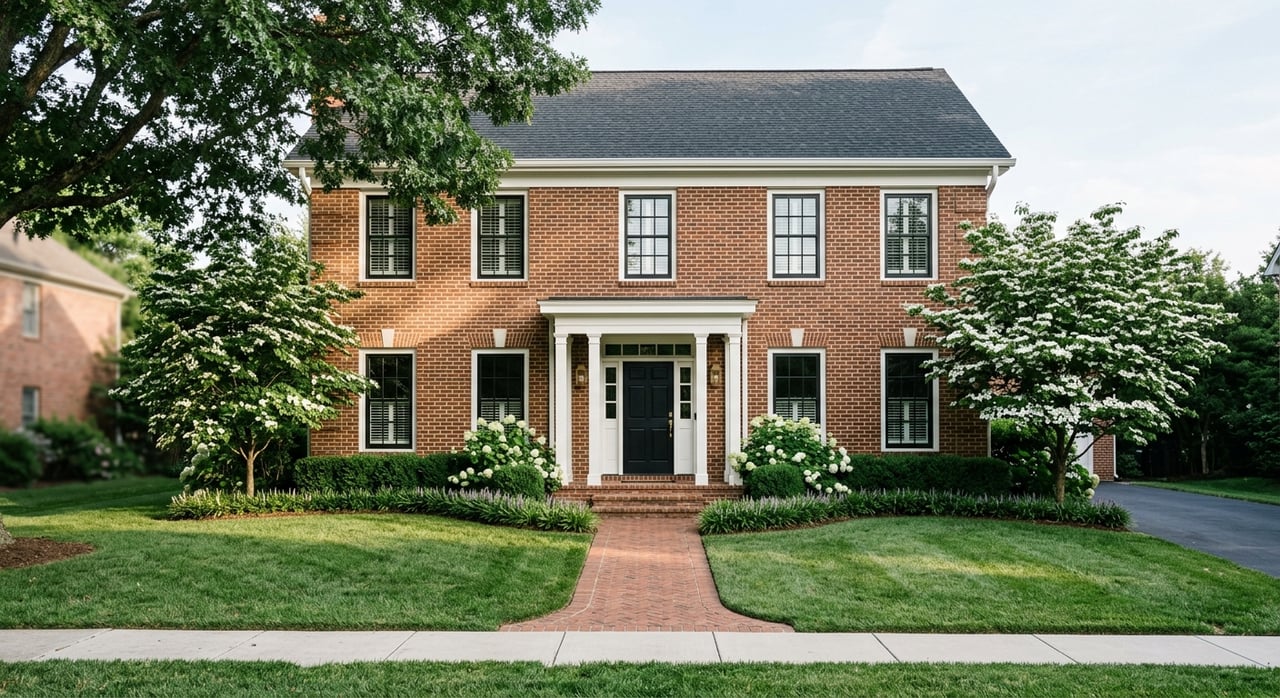
McLean sits in a high-end suburban corridor near Tysons and Washington, D.C. Buyers here value privacy, commute options, finished lower levels, quality lots, and upscale outdoor spaces. They also expect professional photography and accurate virtual tours before booking a showing. When your home looks luxury-level online, you align buyer expectations with your asking price and reduce the friction that leads to negotiation.
Spring is the strongest season in Northern Virginia. Inventory and buyer activity rise in late winter and early spring. If you coordinate prep, staging, and photography to land in that window, you can unlock more showings and better momentum. In this segment, marketing is a comparison game. Listings that feel turnkey and luxury-standard stand out fast.
What luxury staging and visuals include
CLHMS-level staging
Certified Luxury Home Marketing Specialist standards focus on lifestyle and scale. You are not just decluttering. You are telling a story that fits high-net-worth buyer expectations.
- Full design plan for key rooms and exterior spaces
- High-end rental furnishings, art, rugs, and accessories
- Floor plan optimization and styling for photography
- Collaboration with your agent on buyer personas and a shot list
Premium photography and media
Strong visuals do the heavy lifting online. They increase click-through, qualify buyers, and set expectations before the first showing.
- Professional still photography with blended exposures and twilight shots
- 3D tour or video walk-through for out-of-area buyers
- Aerial images if the lot and local rules allow
- Floor plans and polished property copy
Concierge pre-list preparation
A white-glove prep package compresses timelines and raises the presentation level.
- Deep cleaning, organizing, and temporary storage
- Minor repairs, fresh paint, and targeted curb appeal updates
- Vendor coordination for contractors and inspectors
- Depersonalization and move-readiness support
Cost drivers and contracts
Luxury staging uses higher-quality rentals and more design labor than standard staging. Pricing varies by square footage, customization, and rental duration. Most stagers charge an install fee plus a monthly rental. Photography and media are usually one-time fees with optional 3D or video add-ons. The key is to weigh cost against expected net return in this price band.
How luxury staging improves ROI
Staging and premium visuals work together in three ways: they create better first impressions online, they reduce buyer uncertainty about size and function, and they support stronger offers with fewer concessions.
- First impressions: Staged rooms and pro photos draw more qualified clicks and showings in the first 1 to 2 weeks.
- Perceived value: Clear room purpose and highlighted finishes reduce doubts that often lead to price chipping.
- Negotiation position: A complete presentation lowers perceived risk and can support firmer terms.
Track the outcome with data you can verify during the first 2 to 3 weeks:
- List-to-sale price ratio compared to similar nearby listings
- Days on market versus neighborhood averages
- Showings per week, number of offers, and time to first offer
- Size of any price reductions or inspection concessions
In a competitive spring market, well-priced homes with luxury staging and high-caliber visuals tend to achieve the strongest incremental gains.
A practical before-and-after plan
General approach
- Before: Depersonalize, declutter, repair, deep clean, and neutralize bold colors or lighting. Open traffic flow and show true scale.
- After: Add statement pieces, a cohesive palette, layered lighting, and curated accessories. Keep lifestyle cues minimal and elegant.
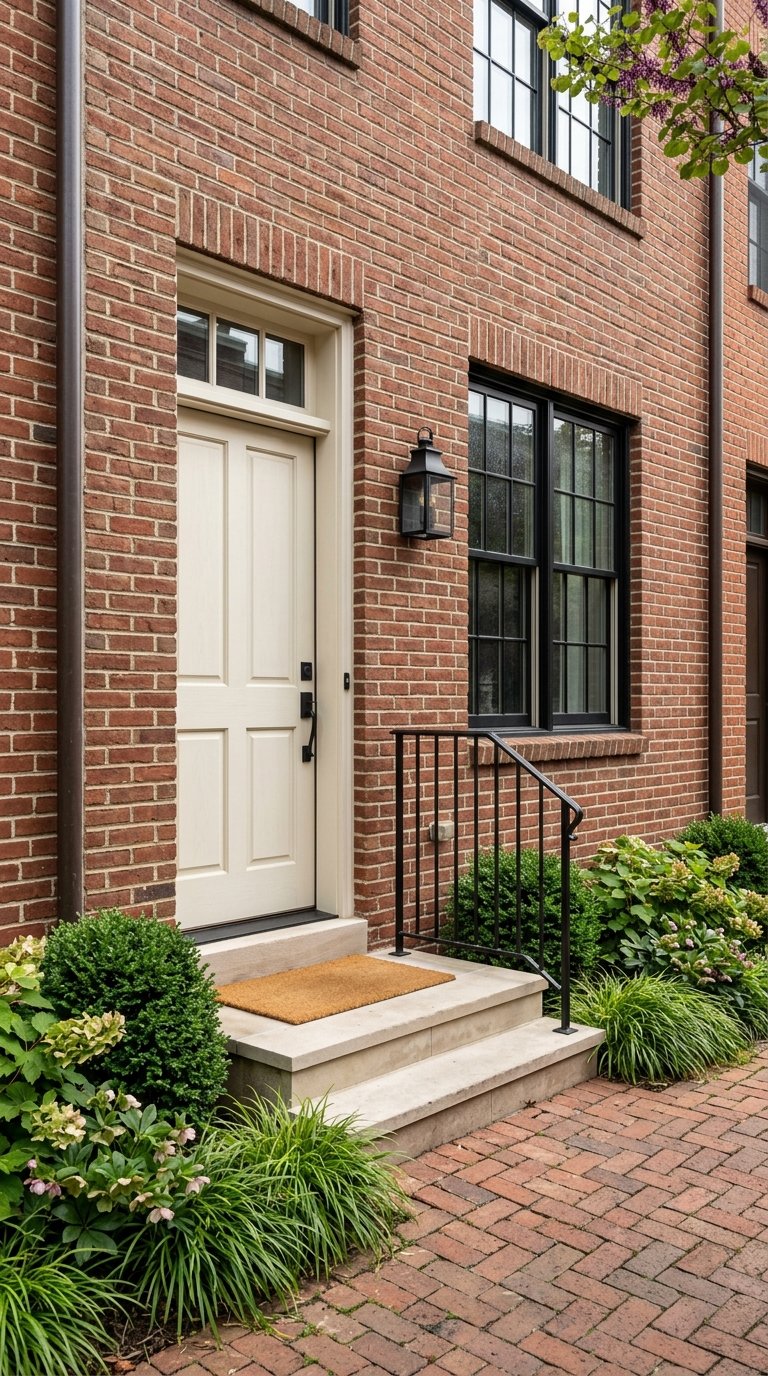
Entry foyer
- Before: Remove personal items and clean hardware and lighting.
- After: Add a statement console or bench, a single art piece, and layered lighting. Polish surfaces to convey arrival and scale.
- Photos: Wide angle showing flow into main spaces and one detail shot of lighting or art.
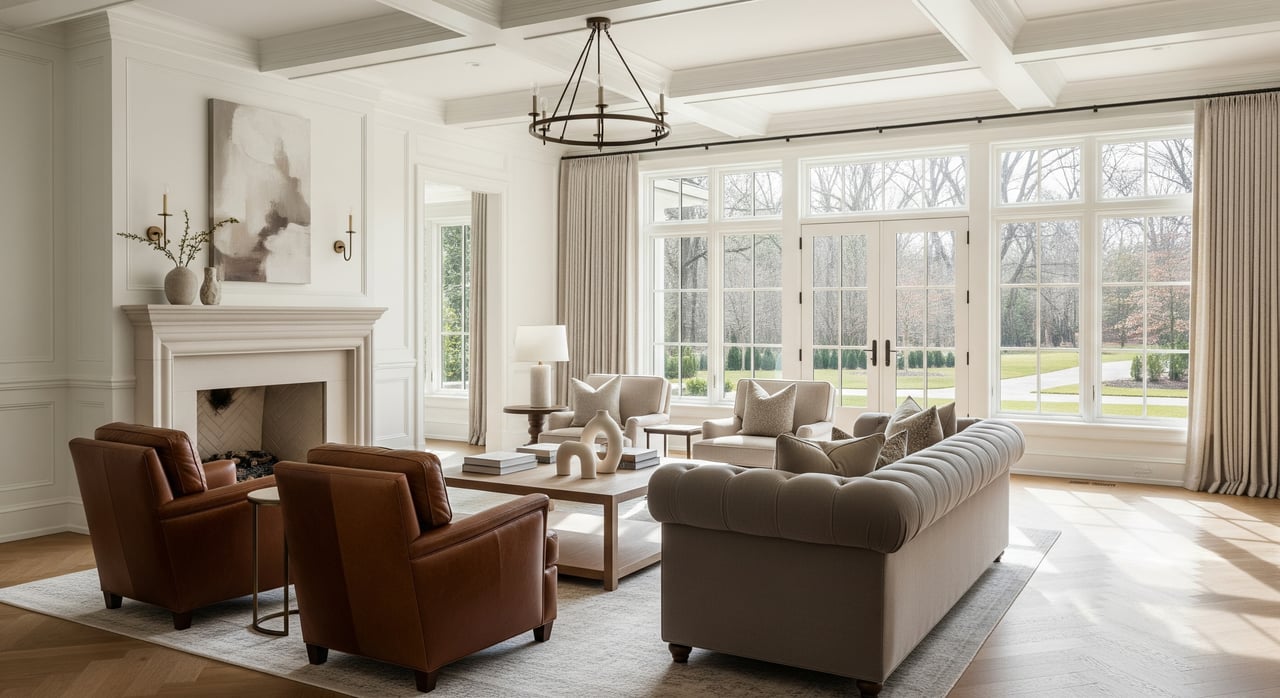
Formal living or great room
- Before: Remove excess furniture and clean windows.
- After: Create a balanced seating group centered on a focal point like a fireplace or view. Use an area rug to show scale and add a few refined accessories.
- Photos: One wide shot showing ceiling height and room-to-room connection, plus an angle that highlights outdoor access.
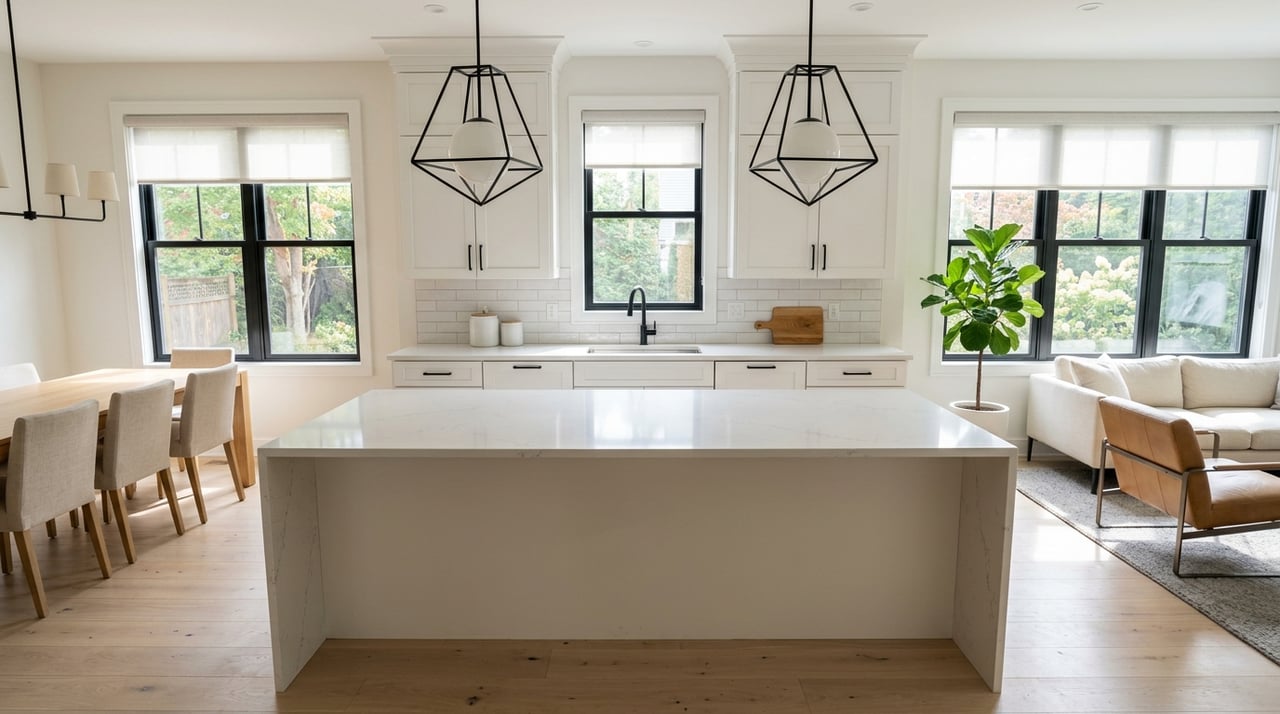
Kitchen and breakfast area
- Before: Clear counters and remove magnets and clutter. Clean appliances inside and out.
- After: Add a few curated items like a wood cutting board or bowl of lemons. Style barstools and polish fixtures.
- Photos: A three-quarter angle of the island and counters with sight lines to dining and outdoors, plus detail shots of premium finishes.
Primary suite
- Before: Depersonalize and remove excess furniture.
- After: Stage with high-end bedding, balanced bedside lighting, and a small seating zone. Keep views clear to outdoor space if available.
- Photos: A wide shot that captures light and scale, plus bath details if finishes are high-end.
Primary bath or spa
- Before: Refresh any stained grout or caulk and clear counters.
- After: Add plush towels, minimal greenery, and spa-style accessories. Ensure flattering lighting.
- Photos: A wide shot showing vanities, shower or tub, and materials.
Dining room and study
- Before: Declutter shelves and hide personal documents.
- After: Set a simple high-end table setting. Stage the study to show work function for buyers who work from home.
- Photos: A wide shot that conveys scale and flexible uses.
Outdoor spaces and landscaping
- Before: Tidy lawn, power-wash hardscapes, and repair lighting.
- After: Stage seating and dining zones with planters to show seasonal living.
- Photos: Twilight exteriors, aerials for larger lots, and lifestyle shots that imply entertaining.
Lower level or finished basement
- Before: Clear storage, define zones, and brighten lighting.
- After: Stage media, game, and bar areas with rugs and proper lighting.
- Photos: Wide angles that show ceiling height and usable square footage.
Essential luxury shot list
- Exterior front in daylight and twilight
- Aerial or drone images if permitted and useful
- Entry foyer
- Main living area from two angles
- Kitchen wide plus detail of island or counters
- Primary bedroom and primary bath
- Secondary bedrooms if expected in the market
- Dining room and study or office
- Outdoor living, pool, and landscaping
- 3D tour or full walk-through video
- Measured floor plan
Your spring-market timeline
Use this 8 to 10 week roadmap to be live when demand peaks.
- Weeks -10 to -8: Hire a CLHMS-level stager and a luxury-savvy agent. Book photographer and videographer. Start an inventory of items for storage.
- Weeks -8 to -6: Complete minor repairs, paint touch-ups, and curb appeal updates. Arrange concierge services for storage and contractor coordination.
- Weeks -6 to -4: Declutter and depersonalize. Finalize the staging plan and rental inventory. Set a photography window based on spring light and weather.
- Weeks -3 to -2: Deep clean carpets and windows. Replace filters and finish last touch repairs. Confirm the shot list with your agent and stager.
- Weeks -2 to -1: Install staging and do final styling. Align the marketing plan and choose exact photo and tour dates.
- Week -1 to 0: Capture photography, twilight exteriors, 3D tour, and drone as weather allows. Approve images and finalize property copy and floor plans. Plan open houses and broker previews.
- Week 0: Go live on high-traffic days like Thursday or Friday to catch weekend showings. Host a broker tour and monitor feedback.
- Weeks 1 to 3 post-launch: Track showings, offers, and comments. Adjust styling or promotion if needed. Consider price only after comparing similar active and sold listings.
How to measure your return
You can evaluate ROI in three clear ways.
- Direct ROI: Compare net sale proceeds after staging and media costs to what you would have accepted without those upgrades, if that number changed.
- Comparative ROI: Look at your list-to-sale ratio and days on market versus similar un-staged or standard-staged homes sold in your micro-market and time frame.
- Behavioral ROI: Track showings per week, speed to first offer, and number of competing offers. Model the price impact by comparing to similar sales that had strong early demand.
Key KPIs to watch in the first two weeks include showings per week, online views and click-through, offers by day 14, days on market, and final net after costs. Use this data to confirm the strategy or refine quickly.
White-glove help in McLean
Selling a luxury home while managing work, family, or a relocation is a lot. A CLHMS-designated agent with concierge systems can coordinate stagers, photographers, contractors, and storage so you focus on decisions, not logistics. You get boutique service with the distribution and support of a leading franchise network. The result is a polished launch, stronger buyer confidence, and a smoother path to closing.
If you want a custom staging and media plan tailored to your home and timing, reach out to Gurdeep Mangat to schedule a complimentary consultation.
FAQs
What is luxury or CLHMS-level staging?
- It is a strategic design approach that highlights lifestyle, scale, and finishes using high-end rentals and styling planned for photography and luxury buyer expectations.
How much should I budget for luxury staging in McLean?
- Costs vary by size, customization, and rental duration; assess bids against expected net return rather than choosing the lowest price.
When should I start staging for the spring market?
- Begin 8 to 10 weeks ahead to secure vendors, complete light repairs, install staging, and capture photos and 3D tours in the best light.
Do I really need 3D tours and drone images?
- For larger lots or out-of-area buyers, 3D and aerials help qualify serious interest and show key features that standard photos may miss.
Can I stage only a few rooms and still see results?
- Yes, prioritize the entry, main living areas, kitchen, primary suite, and outdoor spaces to influence first impressions and perceived value.
How will I know if staging worked?
- Track showings, time to first offer, offers received in the first 14 days, days on market, and your list-to-sale ratio compared to nearby comps.